


 Written by admin
The following guide shows you how to install the KISS Build on any Kodi device.
‘KISS’ is a new, premium build from the Dabutcher Repository that offers movies, TV shows, live channels, sports, and more.
We first saw this build in a popular Reddit thread and what makes this appealing is its light size, simple user-interface, and use of high-quality add-ons like FEN Light (VOD) and DaddyLive (live channels).
This is a “premium” build meaning that a debrid service is required for use. This includes integrations for Real-Debrid, Premiumize, AllDebrid, and other providers.
The KISS build can be installed on any device that runs the Kodi software and this includes streaming devices like the Amazon Firestick, Google TV/Android TV Boxes, PCs, tablets, and more.
1. Launch Kodi and click the Settings gear.

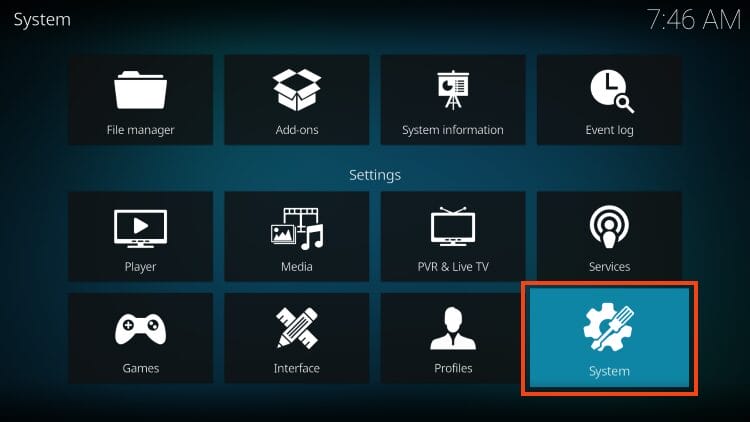
2. Choose System.
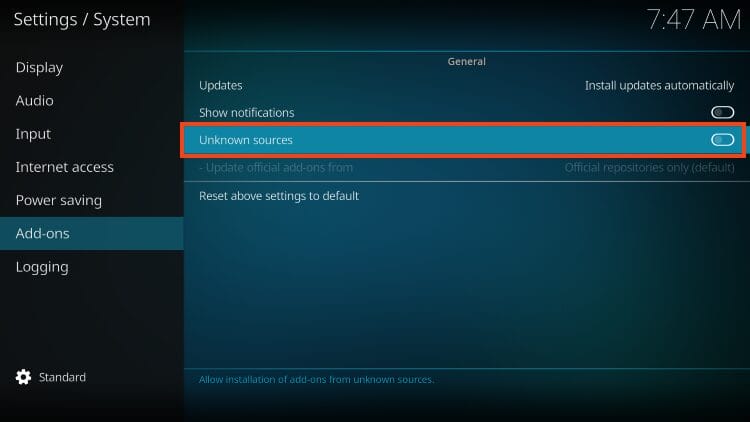
3. Within Add-ons menu, click Unknown sources to turn this feature on.
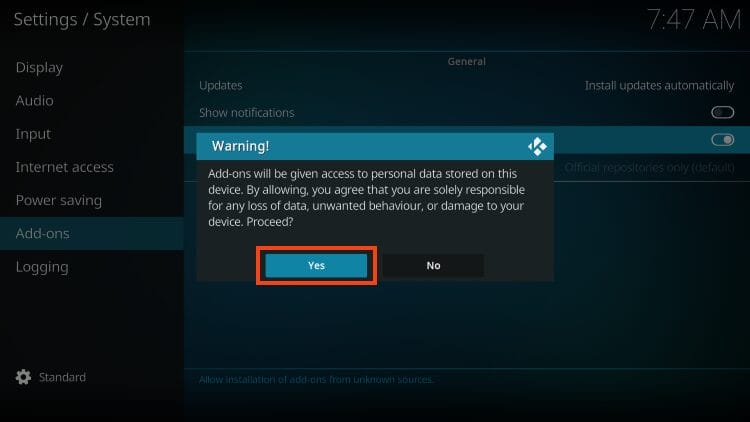
4. Click Yes. But make sure to read the important warning message that states these 3rd party add-ons will be granted access to your personal data.
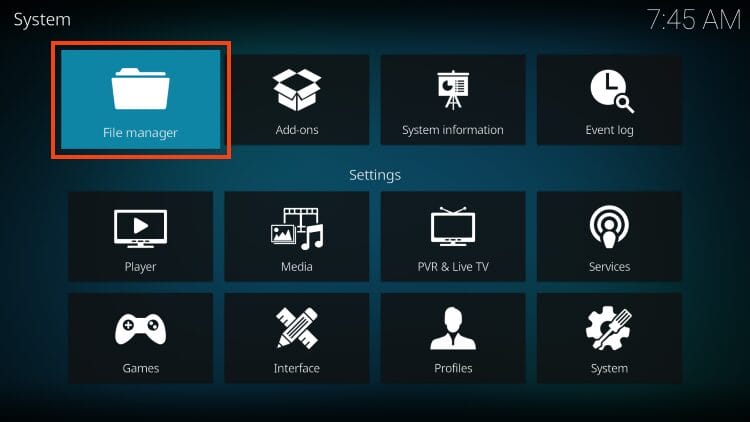
5. Return to settings and open File Manager.
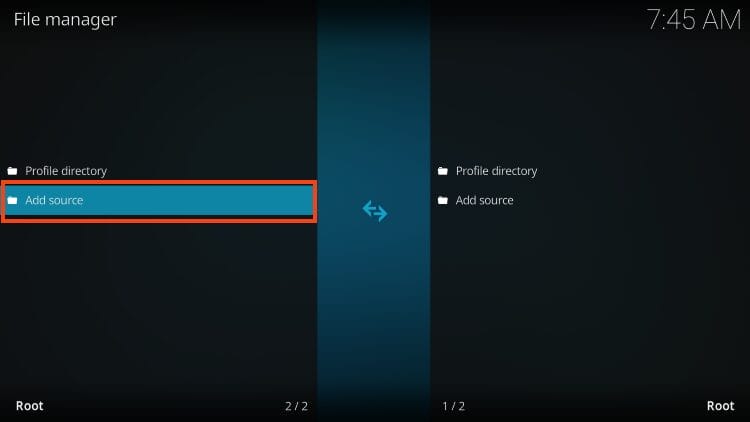
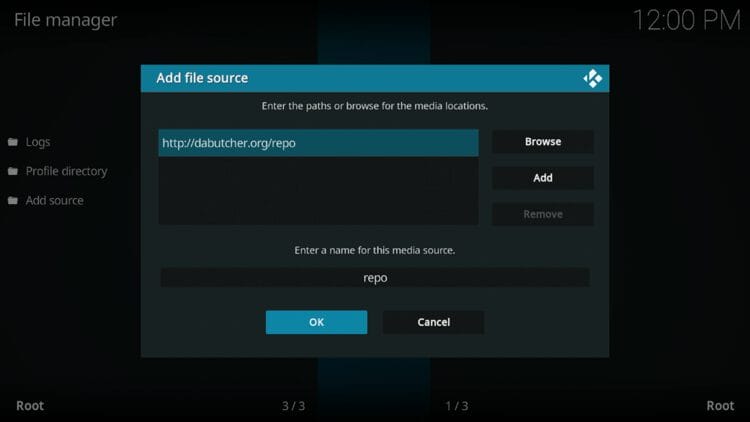
6. Click add source.
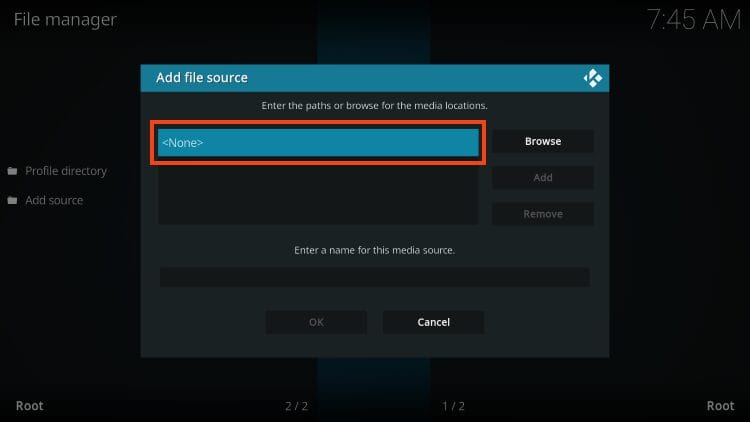
7. Select
Your online activity is monitored by your ISP, app/addon/IPTV devs, government, and all websites.
🔒 Become anonymous while streaming & downloading with Surfshark VPN
Save 87% with 24-Month Plan + Get 3 FREE Months
Use on Unlimited Devices & Share 1 Account with Entire Family
CLAIM DEAL HERE
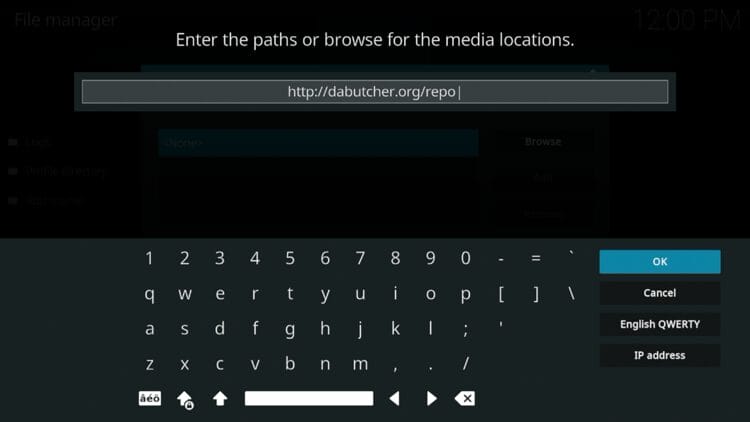
8. Type the following URL – http://dabutcher.org/repo and click OK.
9. Name your media source whatever you prefer and click OK.
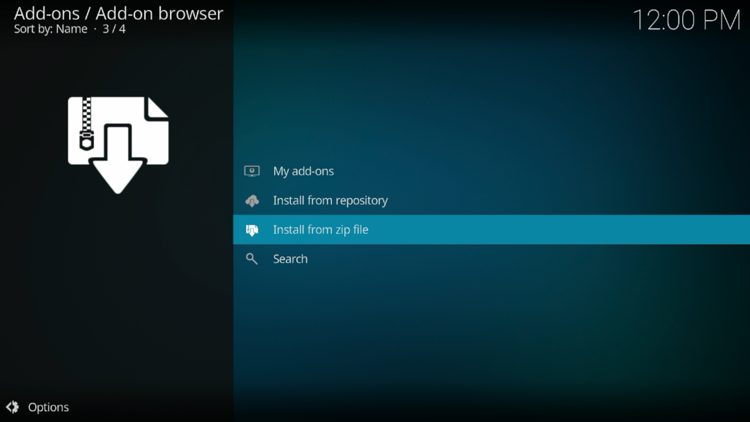
10. Go back to settings and choose Add-ons.

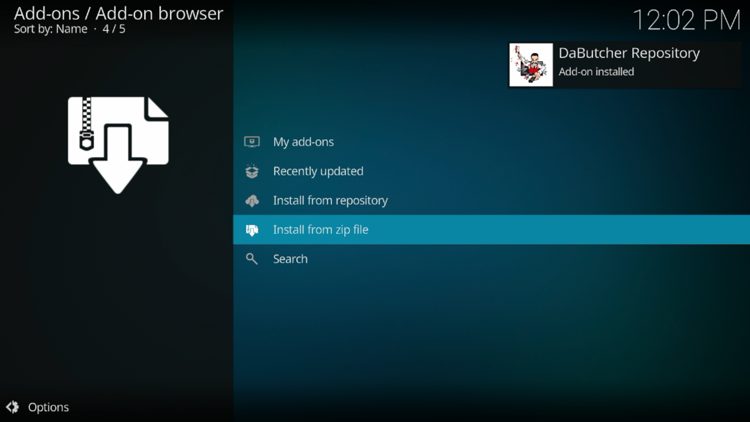
11. Select install from zip file.
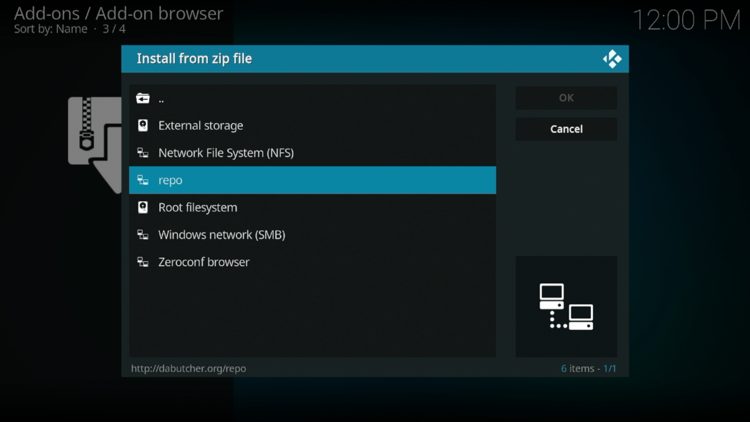
12. Click ‘repo’ or whatever you named the media source.
13. Select the zip file URL – repository.dab.zip
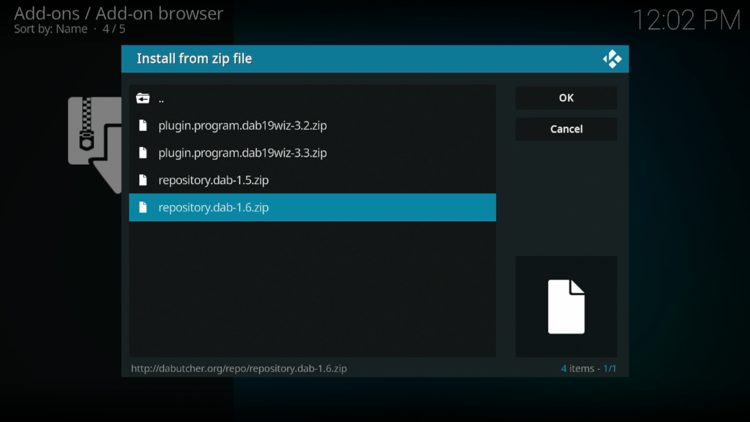
14. The repo installed message will now appear.
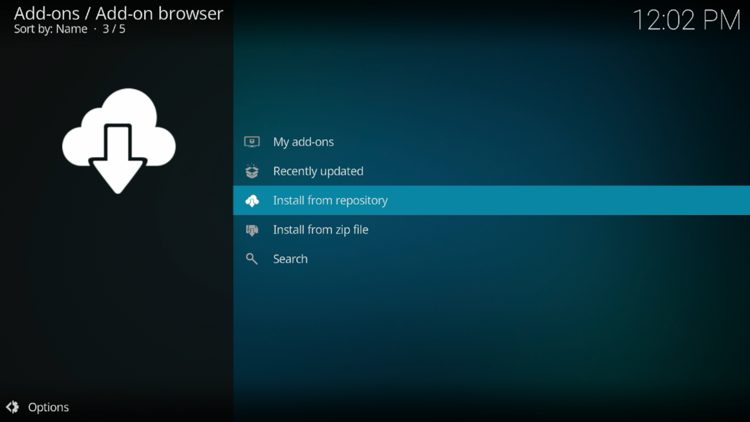
15. Choose install from repository.
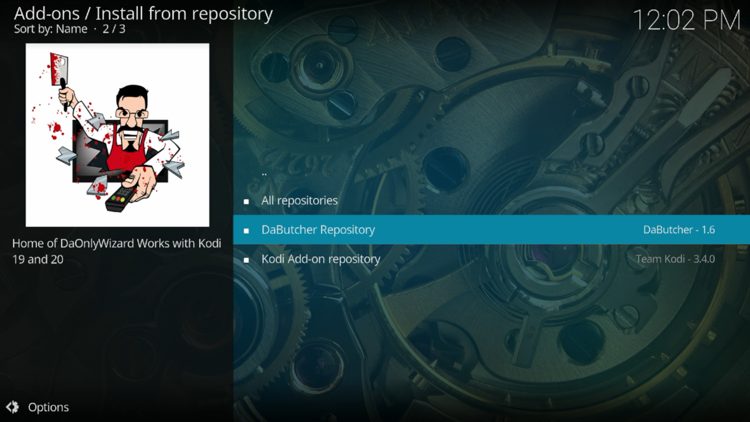
16. Select DaButcher Repository.
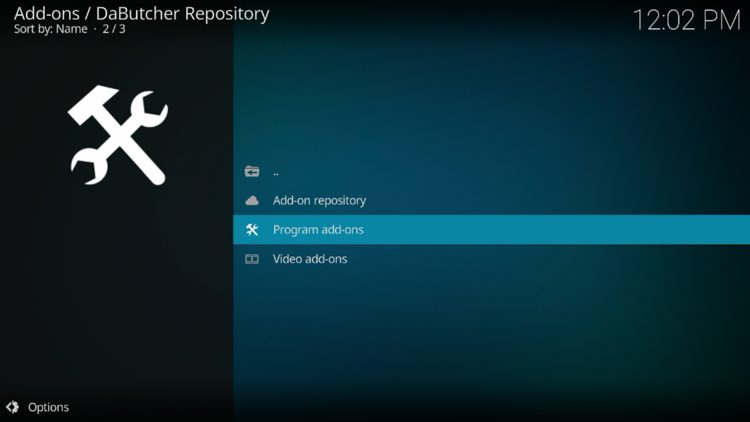
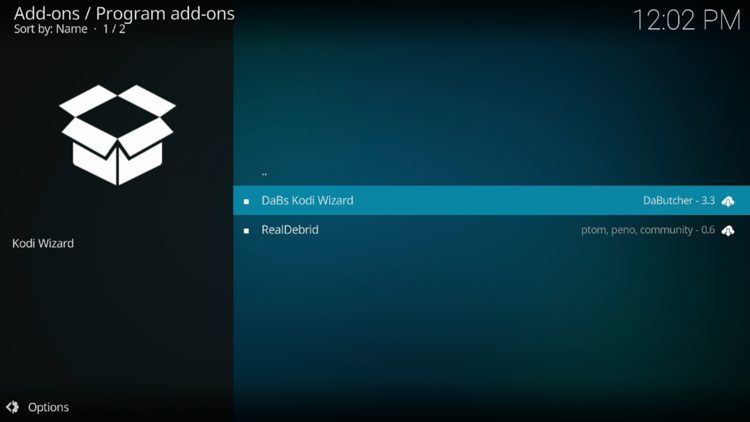
17. Now, click Program add-ons.
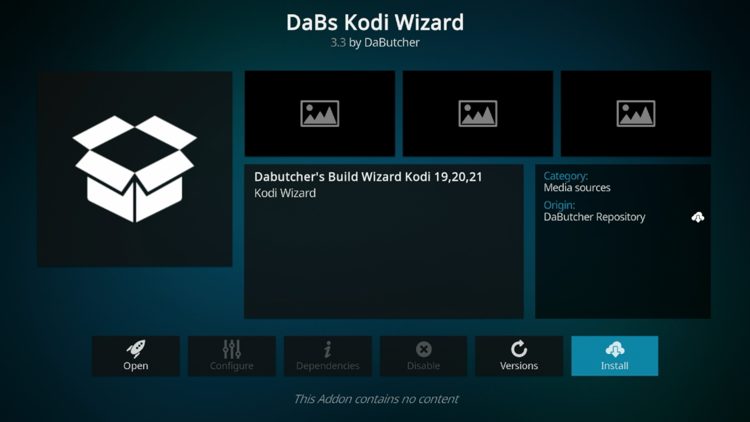
18. Click DaBs Kodi Wizard.
19. Select Install.
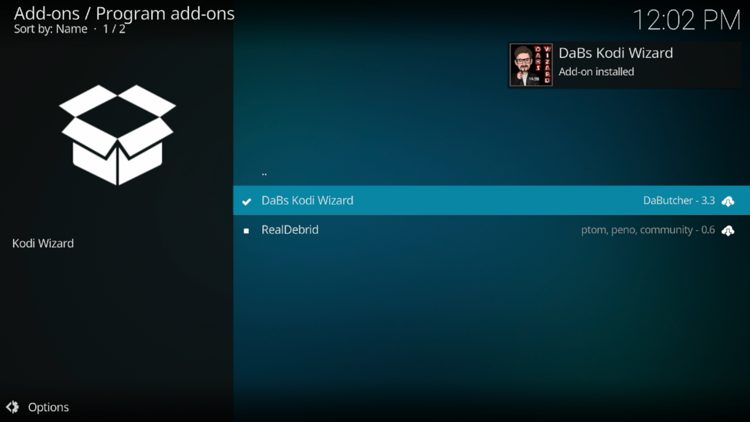
20. The wizard add-on installed message will now display in the upper right-hand corner.
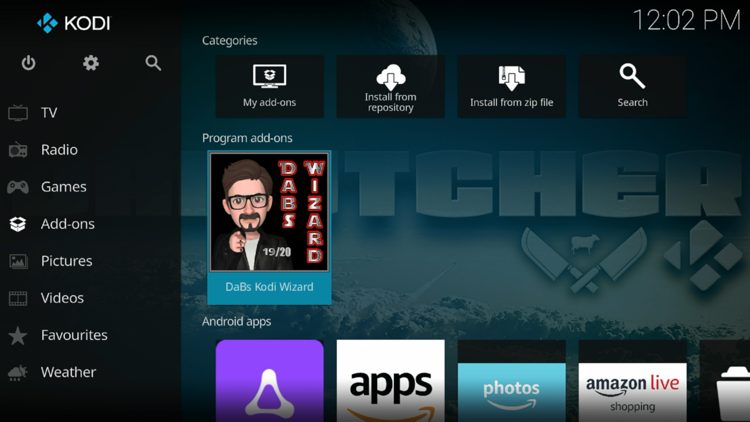
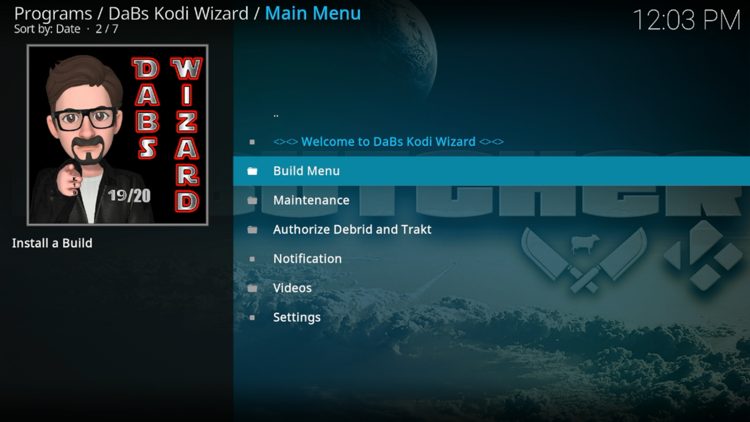
21. Return back to the home screen of Kodi, hover over Add-ons and click DaBs Kodi Wizard under Program add-ons.
22. Select Build Menu.
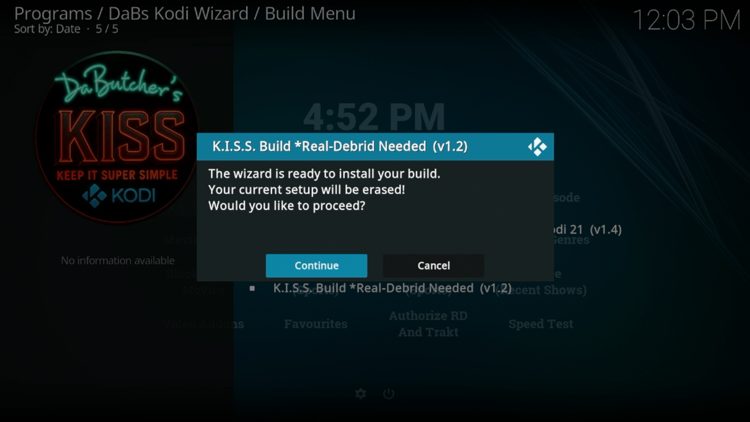
23. Locate KISS Build and click it.
24. Click Continue.
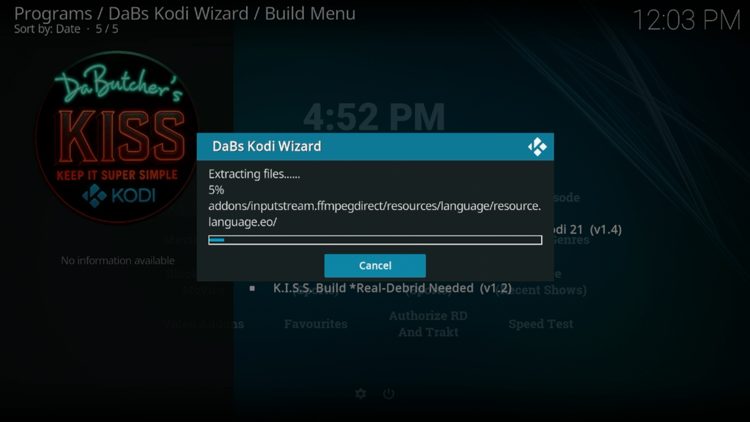
25. Wait for your build to download.
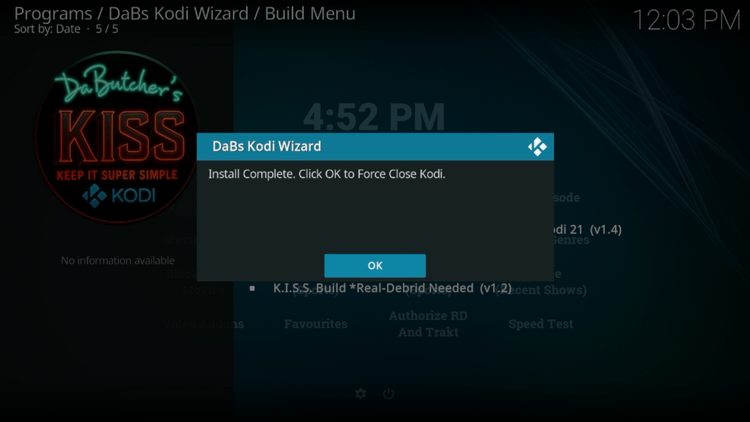
26. Click OK.
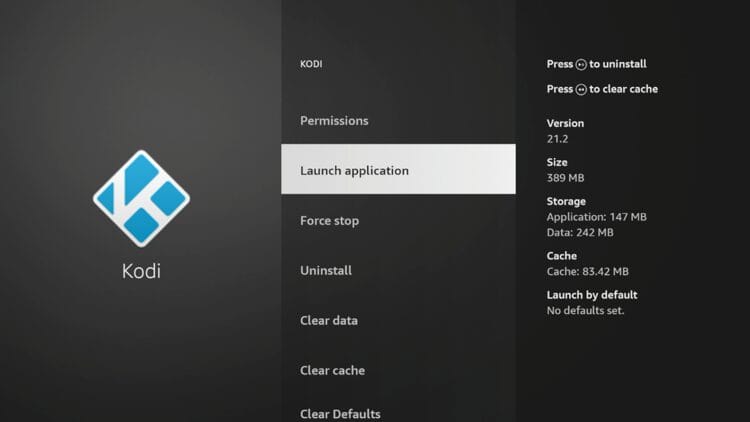
27. Relaunch the Kodi application.
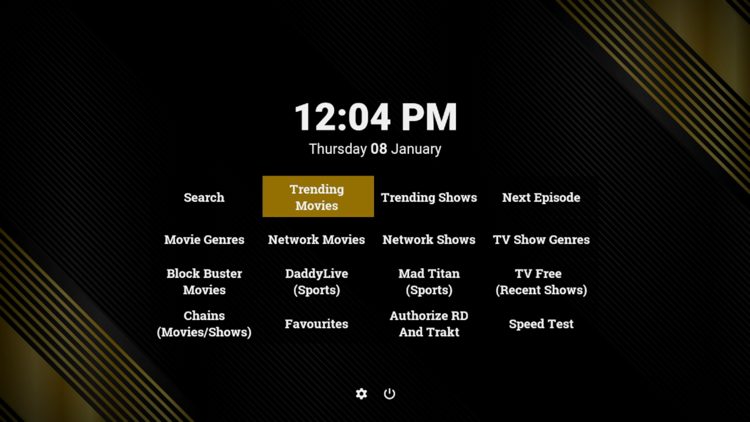
28. Now wait a few seconds for the KISS build to load after launching for the first time.
Continue more for integrating a premium debrid service.
Since the KISS build requires a premium debrid service for use, we provided steps below for integrating Premiumize. You can follow the same process for Real-Debrid.
Important Note: You must first sign up for a debrid service or this will not work.
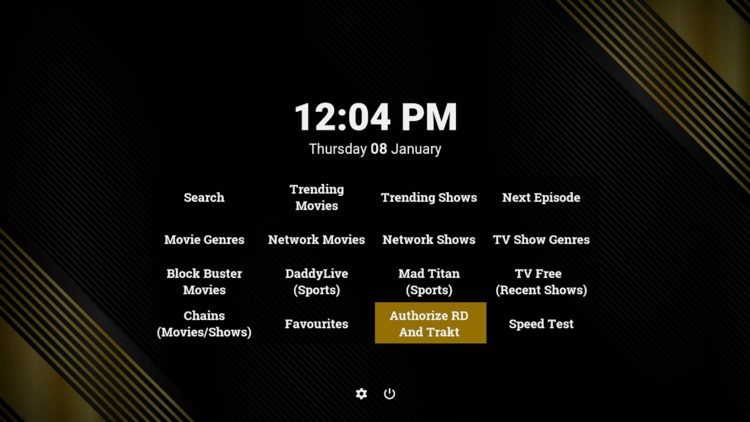
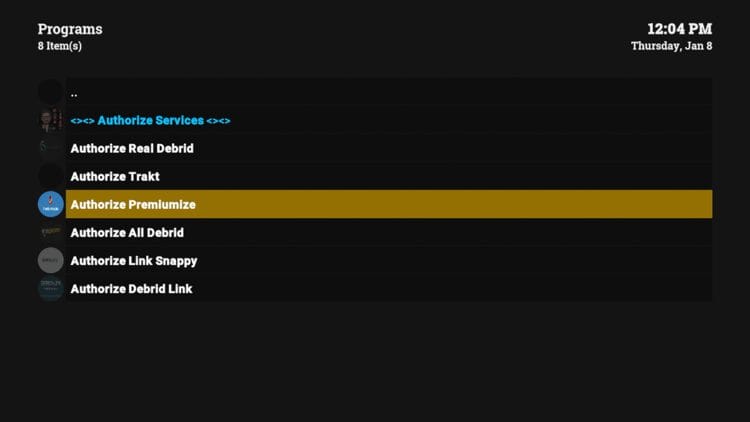
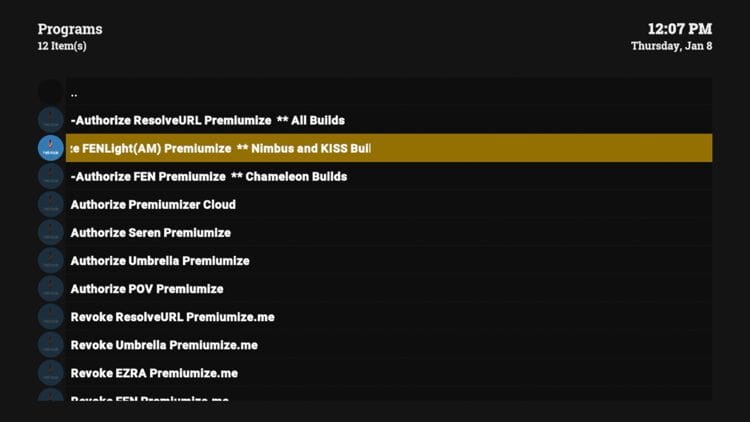
1. Click Authorize RD and Trakt from the home screen.
2. Choose your debrid service. We are using Premiumize.
3. Select the option for Authorizing FEN Light (Nimbus and KISS build).
4. You will then receive an authorization code.
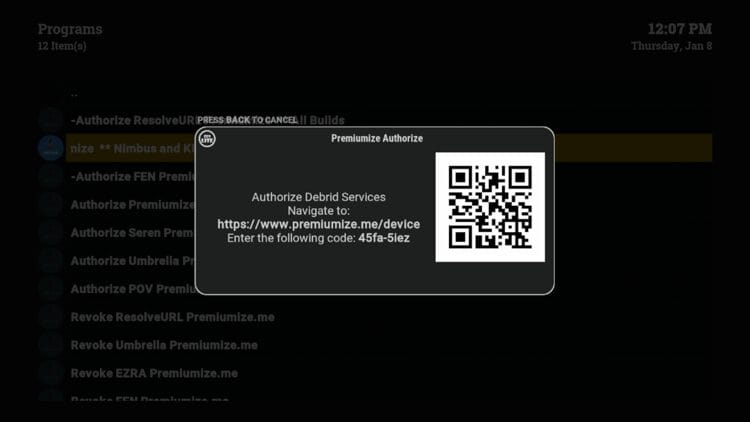
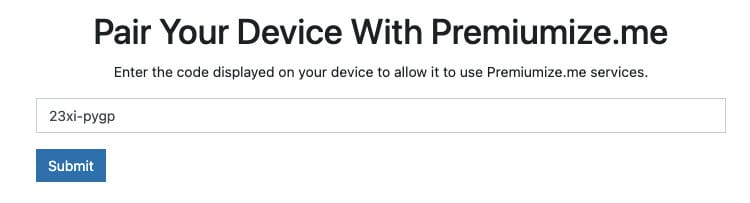
5. Visit premiumize.me/device and enter the provided code.
6. Click Allow.
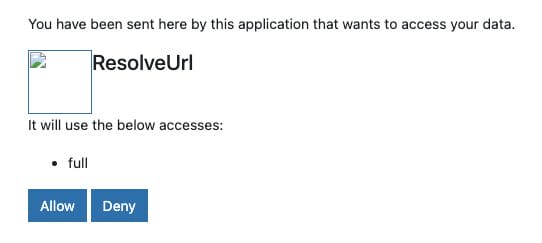
7. You should then see a ‘device authorize accepted!’ message.

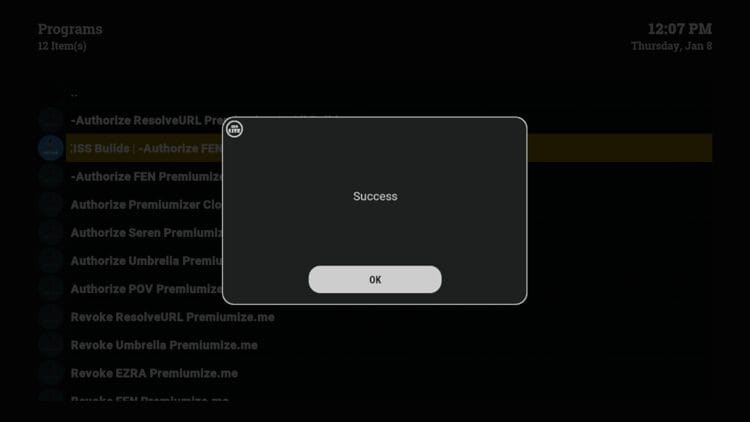
8. Return back to the KISS build and you should see a Success message. Click OK and you’re good to go!
As you will notice after installing, The KISS build offers several categories to choose from. This includes the following:
Movies (Trending, Genres, Network, Block Buster)
TV Shows (Trending, Next Episode, Network, Genres, Recent Shows)
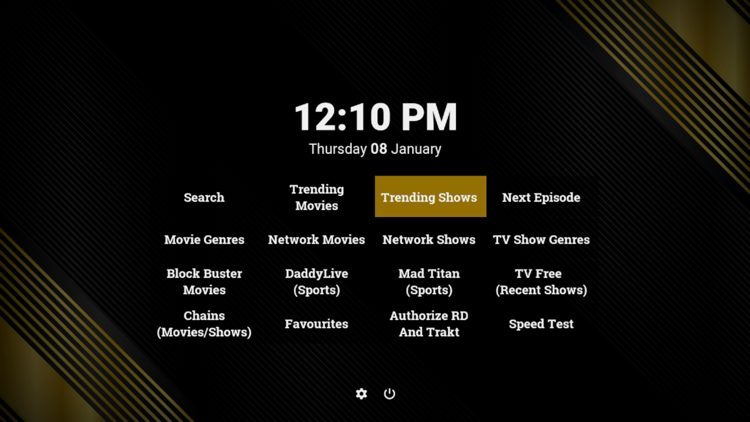
Live TV & Sports
Settings

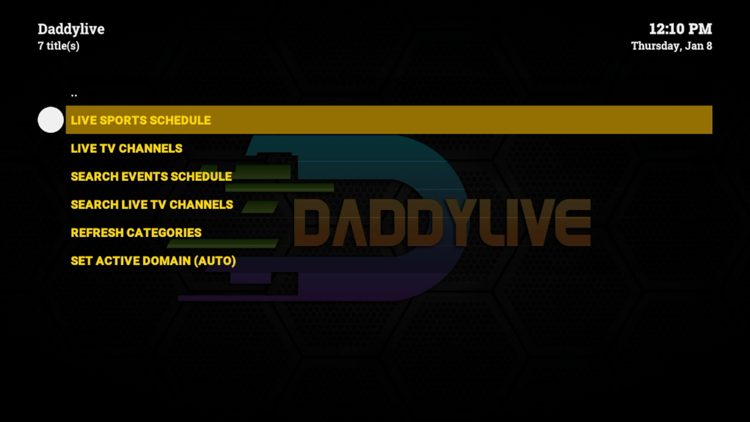
The video add-ons that come pre-installed with this build include FEN Light, DaddyLive, Chains, Mad Titan Sports, and more.
It’s impossible for TROYPOINT to determine whether these unverified builds carry the proper licensing.
At first glance, it would appear that “KISS” is providing copyrighted content without consent.
Users can always access titles that are available for free in the public domain. Works such as this are not protected by copyright laws and may be downloaded and streamed without any legal issues.
In conclusion, the end-user is responsible for all content accessed through unverified builds or add-ons and should always choose legal streaming options.
Let us know what you think of the KISS build in the comments below!
This page includes affiliate links where TROYPOINT may receive a commission at no extra cost to you. Many times, visitors will receive a discount due to the special arrangements made for our fans. Learn more on my Affiliate Disclaimer page.


© IPTVSub is Proudly Owned by win-design